Everything around us has faced such developments that make our lives easier and less time consuming in all spheres.
From the electronic devices being wireless and easy to handle to accessibility of technology in all parts of the country due to presence of the internet, we today are on the verge of being human robots.
What is an IP Login?
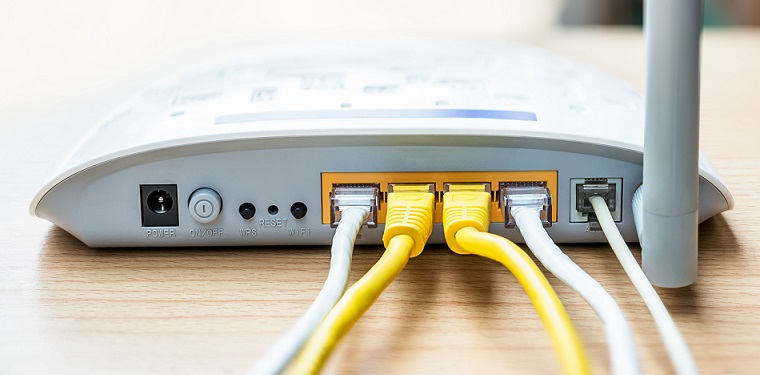
For an internet connection to become smooth and properly functioning, the presence of a router and an IP address are two must conditions.
Read Also:
A router is a reflecting device used in a network guiding the data files with the way to reach their final destination. An IP address is a unique identity tagged to each of the routers by manufacturers in the form of a numbered label.
How to Login to 192.168.0.1 IP Router Admin Panel?
One such widely known IP address used by various brand companies manufacturing router devices is 192.168.0.1 router IP. To use this address for setting up a private network the user needs to log in first to it which can be done through the process below:
STEP 1- To begin, connect your router to your system. The connection can be of any sort- wired or wireless.
STEP 2- After that just click on the ‘access router panel’ button or sort http://192.168.0.1 into your browser and log in.
STEP 3 – Type in your router’s username and password in order to take the process of logging in to 192.168.0.1 router IP further.
STEP 4- Here you will be re-directed to the main router’s settings homepage. You can configure your products here only.
STEP 5- Since by now you have successfully gained access to the admin panel of your router’s IP Address, you can now alter the type of your internet connection, add or remove the new units and much more.
The IP address of the router you are using to set up a network must be known to you for the above process to be successful. In case you aren’t aware of the same, it can be found out by pressing the command prompt.
Then clicking on the window icon and pressing key R and then entering cmd in the run box. Then after that you must type in ‘ipconfig’ and at the end press enter. Your will come to know the IP Address of your router by this time.
Infact in some circumstances you might even need to change the IP Address of your router. For that you must open any web browser and type in your router’s IP Address in the address bar of that browser.
Then provide the login credentials of your router and click on log in. Next, from the setup menu move to the network settings and give in your new to be updated IP Address and subnet mask and save the settings before exiting the browser. Your IP Address will be changed by this time.
Read Also:
Final Words
Hence, the article above has provided us with all what a user requires to be aware of regarding 192.168.0.1 router IP and all its related aspects. The only thing left is a thorough reading of the above context. Just go ahead.


