This error pops out on the start-up while booting into the operating system. This error can make your computer completely useless. As you won’t be able to use your computer without an operating system. In this article, you will learn more about this error and also how to fix it.
Contents
- 1 What is meant by Selected Boot Image Did Not Authenticate?
- 2 How to Fix Selected Boot Image Did Not Authenticate Error
- 3 Solution 1: Change from Secure Boot to Legacy Boot in your BIOS Settings
- 4 Solution 2: Hard Reset your Computer
- 5 Solution 3: Repair Windows in your Computer Using the System Recovery
- 6 Conclusion
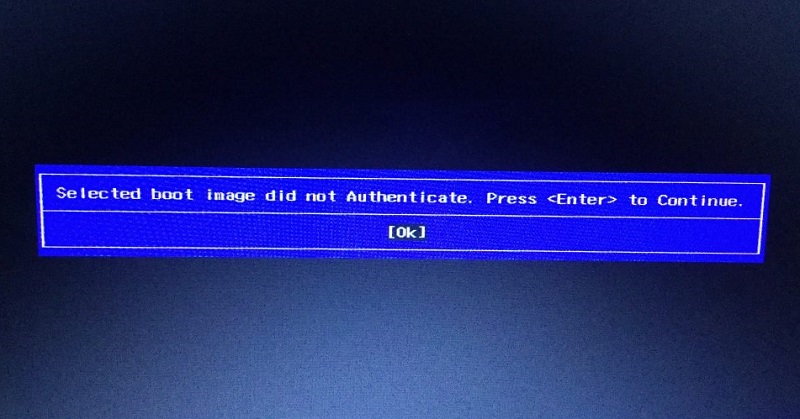
What is meant by Selected Boot Image Did Not Authenticate?
This error basically means you can’t use or load your operating system because your computer system has not found any booting image it could happen due to many reasons like bad updates or upgrades.
However, this error hasn’t been since on any other system except HP. Hewlett Packard is known for Laptops and other technologies. Almost all of the users were found to be using an HP system.
- Bad Updates: When your system updates itself and if by any chance an error or interference occurs during the updating process then it could lead to this error. You may have read the warnings computer show while updating. Don’t take them lightly because you can lose all of your data like this.
- Bad BIOS Configuration: Many users do not interfere with their BIOS however some people change settings and make it unusable. These bad settings can lead to this error. Hence you should be careful while using BIOS.
Read Also:
- Peruvian Leftist Castillo Inches Ahead in Tight Presidential Vote
- Twitch Error 2000
- Err_Proxy_Connection_Failed
How to Fix Selected Boot Image Did Not Authenticate Error
There are a number of solutions for this error. However, each solution is meant for a different cause. Hence you should check all out of the solution until you found your solution. We recommend you to backup your data just in case something goes wrong.
[Note: Be sure to follow each step don’t skip any step]
Solution 1: Change from Secure Boot to Legacy Boot in your BIOS Settings
Since BIOS[ Basic input-output system ] of computer scans the boot files before booting due to some security reasons. If you change it to Legacy Boot then it could solve your problem because then it will not check for errors in the boot file and you will be able to use the operating system. To change from Secure Boot to Legacy Boot simply follow the steps down below.
Step 1: Restart your computer and keep pressing the BIOS menu key( Delete or F10 ) until the BIOS menu doesn’t open.
Step 2: Now go to the System Configuration tab and select Boot Options.
Step 3: Locate Legacy Boot and click on it and Enable it.
Step 4: Now select Secure Boot and disable it.
Step 5: Finally save your settings and restart/reboot your computer.
Now you have changed boot options you be able to use your operating system if not then you should check out other solutions as well.
Solution 2: Hard Reset your Computer
[Note: This solution will only work for HP computers]
Sometimes the users mess up the BIOS configuration that leads to this error. In this solution, we will hard reset your system so that it will load factory configurations. To hard reset, your HP laptop simply follows the steps below.
[Note: This solution will reset every setting except BIOS password]
Step 1: Turn off your system(HP Laptop) and Remove adapter.
Step 2: Remove your system’s battery.
Step 3: Press and hold the Power button for 20 seconds it will reset the hardware.
Step 4: Press F2 on the next start-up to open Hardware Diagnostics.
Step 5: Run the test and if the test comes clean then you can boot normally.
[Fact: If you are wondering how your device will be able to reset without battery. The answer is every motherboard has a CMOS battery which is used to power BIOS data.]
Now you have changed hardware settings to factory settings everything should work fine now. If somehow you are still seeing this error then you should check all other solutions as well.
Solution 3: Repair Windows in your Computer Using the System Recovery
If none of the above solutions have helped you then it’s the problem of your Windows. Hence in this solution, we will repair Windows with system recovery. In order to do that simply follow the steps below.
Step 1: Turn off your computer and start it again and keep pressing the Esc key to get in the Start-up menu.
Step 2: In start-up menu press F11 for recovery console.
Step 3: Now click on Troubleshoot and then select Advanced options and finally choose to Startup repair.
Step 4: Let the process to be complete and restart/reboot your computer.
Now your windows have been repaired check if you are still seeing the same error as before. At the same time you need to about IDP.Generic Error.
Read Also:
Conclusion
At the end of the article, I hope you have learned about this error and how to fix it. Mostly the HP users encounter this error. However, if you have a different brand you can use these methods except solution #2 for yourself. You will only need specific keys for your brands like BIOS key and start-up menu key etc.


